How to create own Custom BackDrop
We will be adding users tips and tutorials about how to make the most of your clickbooq website so first I’ll start with creating a custom BackDrop. You have the option of picking solid background colors and patterns, but you can really get creative designing your own BackDrop.
What is a BackDrop? A Custom BackDrop is an image that becomes the background for your website. By using the provided Photoshop templates in the Support Center, you can design and create your own custom background that incorporates your site’s navigation menu, the frame of your site, and your site images. With a little creativity, any design concept imaginable can become your site’s unique BackDrop. Take a look at the Gallery section of clickbooq.com for examples of websites that use the BackDrop feature to truly personalize their design – HK Studios has an amazing one.
1. Download the BackDrop Template.
In the Support Center, download the Photoshop template file which has guides for creating your Custom BackDrop. Download the file that correlates to the Navigation type you selected in Layout & Style, either Top-Down or Left-Hand. The template file dimensions are 1280 pixels wide by 1024 pixels tall and has been preset to the correct resolution of 72 dpi. This should be sufficiently large to fill most browser windows. You can make it bigger, but watch your file size – you don’t want a background that takes a long time to load.
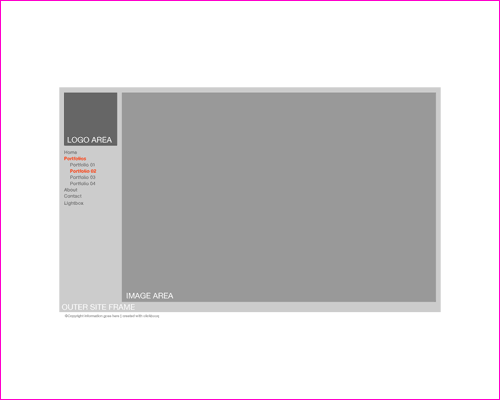
Fig.1 Example of the Left-hand template. The main site areas are shown in grey.
2. Design your BackDrop.
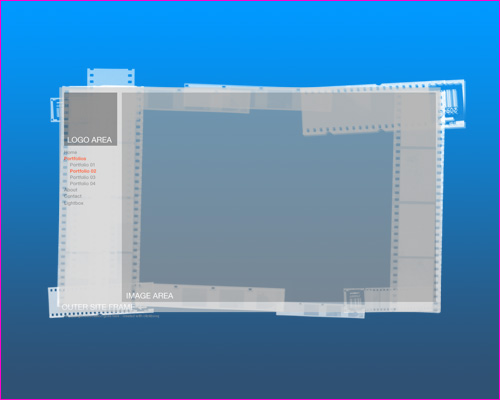
The template outlines the placement of your main site areas in a browser window. Your site is always centered within the browser window. By using the transparent grey areas as a guide, you can create a background design that fits the layout of your website’s main areas.
The grey areas outline where your logo (if you are using one), navigation menu, site frame, and images will appear on top of your background.
Try changing your Site Color to “None” in the Site Color panel in Layout & Style. This removes the site frame and makes your images appear to “float” above your site.
When you’re designing your background, keep in mind where the Navigation menu will appear. If you set Site Color to “None”, make sure your navigation menu text is visible against your custom background. You may need to adjust the color of your font so it’s clear and easy to read.
The logo area displays where your logo appears if you uploaded one in Layout & Style. But you can also put your logo right into your custom background.
Have fun and experiment! Create custom borders around your site frame. Add images, patterns, or text. You can always create and save a new site layout to play around with the different Layout & Style options with your custom background.
Fig.2 Design the background using the template as a guide for where your site areas will appear.
3. Save the background as a JPEG (best suited for full-color, photographic images) or GIF (best suited for line art, illustrations and solid color images) to your hard drive with an easily recognizable name. As always, aim for the smallest file size possible. Try not to exceed a background of 250KB as a maximum.
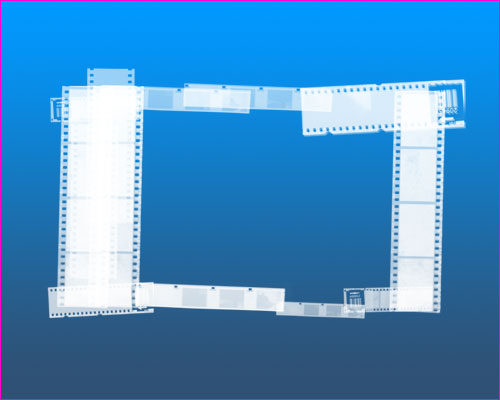
Be sure to Turn OFF Visibility of the template layer before exporting, so it does not appear in your final background design.
Fig.3 The completed background image, ready for exporting.
4. Click Upload. Locate your file on your computer and click Select. Once uploaded, your background will appear in the list window. Select it to view it in the Preview window.
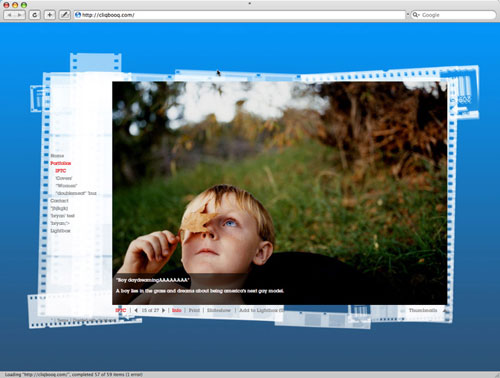
Fig.4 The finished site with the custom BackDrop. (image courtesy of Tim Hale)
Now just publish your new website when you’re ready. Save your files and continue to tweak your design if and when you want.


